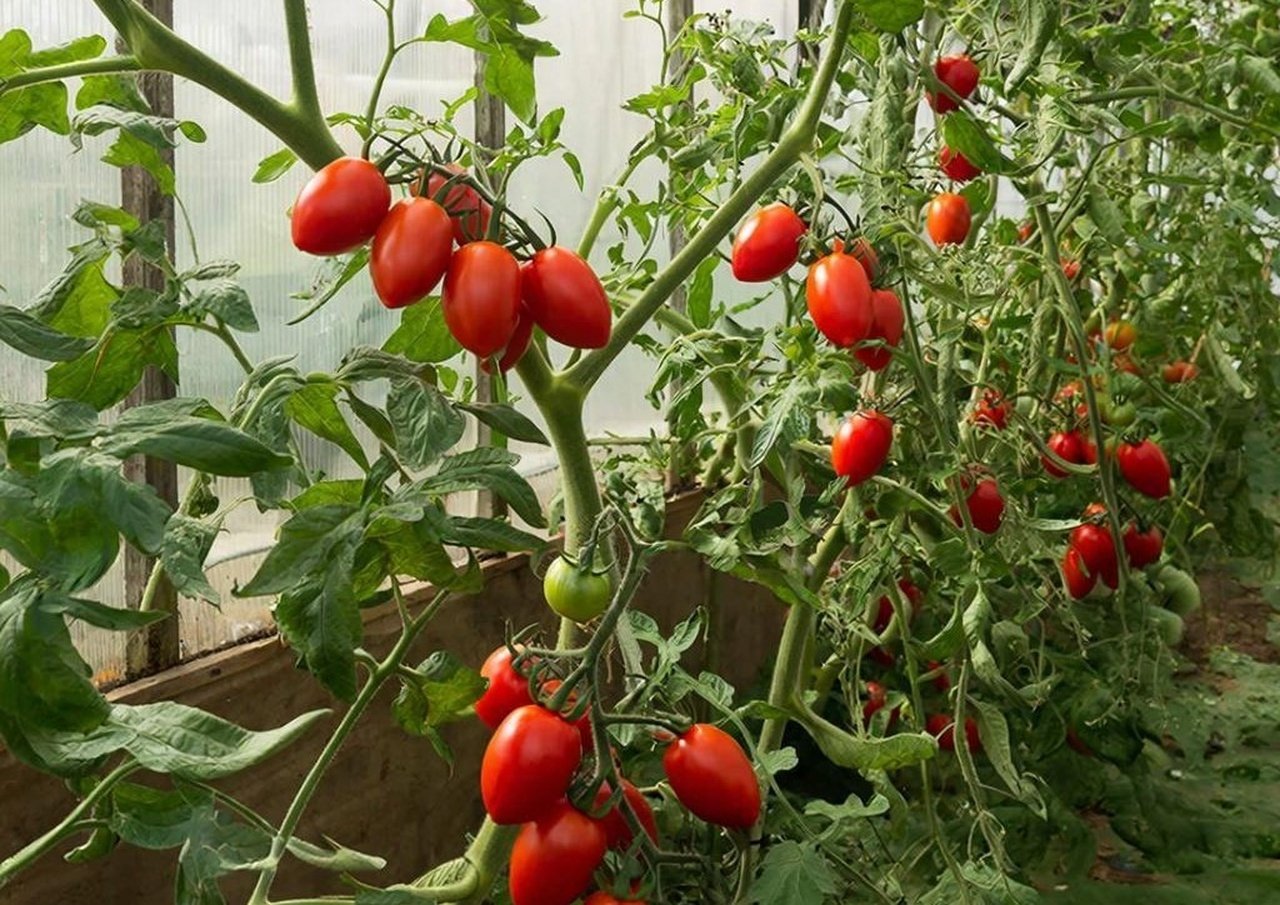
Many people plant tomatoes in a greenhouse by eye, and then wonder why by August there are impenetrable thickets there, and the lower clusters never ripen. It's not all about feeding or the vagaries of the weather, but about the distance between the bushes. In order for your greenhouse to remain bright, well ventilated and produce maximum yield, it is enough to choose the right planting scheme for the type of tomatoes, the author of the Zen channel “Ideal Vegetable Garden” (12+) spoke about this.
Why distance is everything
All tomatoes are divided into two types, and planting them the same is the main mistake. Low-growing varieties themselves stop growing at a height of a meter. They need 35–40 cm between bushes and 50 cm between rows. Planting less often simply means losing useful space. The tall ones grow all the way to the roof all summer. They need a minimum of 50–60 cm in a row and the same between rows. If you plant more densely, you will get that same dark forest where the fruits do not ripen and quickly get sick. And one more thing: if you plan to grow a bush with two trunks, add another 10–15 cm to the distance, otherwise the plants will still close together and begin to shade each other.
3 schemes that work
- Chess order. The most versatile option. Two beds along the edges, a passage of 60–70 cm in the middle. On each bed you plant in two rows, but not opposite each other, but in a checkerboard pattern. There are 40–45 cm between the bushes. A standard greenhouse will fit 26–28 bushes without crowding. Suitable for almost all medium and high grades.
- Trench method. It helps if the seedlings have become stretched and overgrown. Instead of individual holes, dig shallow grooves of 10–12 cm. Lay the stem at an angle, cover it with soil, leaving only the crown with 3–4 leaves at the top. The buried part will quickly grow new roots, and the bush will grow stronger.
- Square pattern. If there is little space, plant 50×50 cm. This way you can afford to grow a bush with two trunks, but only if it is a low-growing variety. In any scheme, tall trees should be kept strictly in one trunk, otherwise by July you won’t be able to squeeze between the rows.
How to prepare holes and water after
Dig the hole 15–20 cm deep. If the seedlings have stretched out, bury them down to the first true leaves; the stem will give additional roots. Place a spoonful of ash and a spoonful of superphosphate at the bottom. Ash will provide potassium, phosphorus will awaken the root system. If you have a handful of humus or onion peel, add it boldly. Before planting, spill the hole with warm water, about half a liter. Do not pour cold water, the roots of the transplanted seedlings are already under stress. After planting, do not water for 10–14 days. This is not a mistake, but a working tactic. When there is little water, the roots go deeper in search of moisture, the bush clings stronger and takes root better.
What to do immediately after disembarkation
After a week or a week and a half, when the bushes get stronger, you begin to remove the stepsons. Wait until they grow to 3–5 cm, so it’s easier to break them out without causing injury to the plant. You remove the leaves below the first flower cluster 2-3 times a week, not all at once, otherwise the bush will slow down its growth. Tie it up right away, don’t wait for it to bend over. Attach the twine from above to the crossbar, and from below make a loose loop under the first sheet. As it grows, simply twist the trunk around the rope and the greenhouse will remain manageable until harvest.
The correct planting scheme is a guarantee that by August you will have a bright greenhouse, healthy bushes and a full box of tomatoes. It is better to measure the distances before planting once than to then wade through the thickets and save the crop from rot. Choose a scheme that suits your variety, keep a pause in watering and don’t be lazy about tying up, and the greenhouse will thank you with a stable harvest until frost.